Our list of summer gardening chore lists can be long this time of year, but there’s something else to add to those lists — making more plants.
As I’ve mentioned in previous columns, plant propagation is an easy and affordable way to add plants to your garden. It’s something you can do year-round depending on the type of plant you want to reproduce, and it can be done by rooting new plants from stems, leaves and roots or by collecting seed of existing plants.
If you’ve never tried it, you may want to educate yourself on the techniques through local workshops and experts, online videos and articles and through books from your local library. One book, American Horticultural Society Plant Propagation: The Fully Illustrated Plant-by-Plant Manual of Practical Techniques, is a good option, but there are many others to choose from, so find one that fits your needs.
While you’re studying the process, go ahead and get hands-on experience this summer, which is an ideal time to replicate many woody plants including shrubs (gardenias, camellias, viburnum, holly and azaleas are good candidates), trees such as evergreen conifers and some magnolias, vines, groundcovers and herbs. Many houseplants can also be rooted this time of year in a potting medium (and some, such as African violets, geraniums, philodendrons and coleus, can be easily rooted in water).
There are three basic types of cuttings you can take during various seasons. In the spring, softwood cuttings can be taken from new growth on plants and tend to root quickly, allowing you to create new material to plant in the same year. Semi-hardwood (sometimes called semi-ripe) cuttings can be taken in the summer when plants are actively growing; these take a little longer to root but benefit from warm summer temperatures. Hardwood cuttings can be taken in the fall and winter from dormant plants and produce new material for planting in the coming spring.

The technique for all of these cutting types is much the same, so here are steps to get you started.
- Using a sharp gardening knife or clippers, cut six- to eight-inch pieces from the tip-end of a new plant shoot. Choose healthy, pest-free shoots that do not contain blooms or buds. Make the cut below a node (where the leaves meet the stem). As you work, place the cuttings in a plastic bag moistened with a little bit of water and keep these in a cool spot until you’re ready to prepare them. It’s best to take cuttings in the morning and plant them within 12 hours.
- Prepare each cutting by snipping off the top of the stem to leave two to four leaves above a node. Trim off the base of the cutting just below the node and remove the lower leaves.
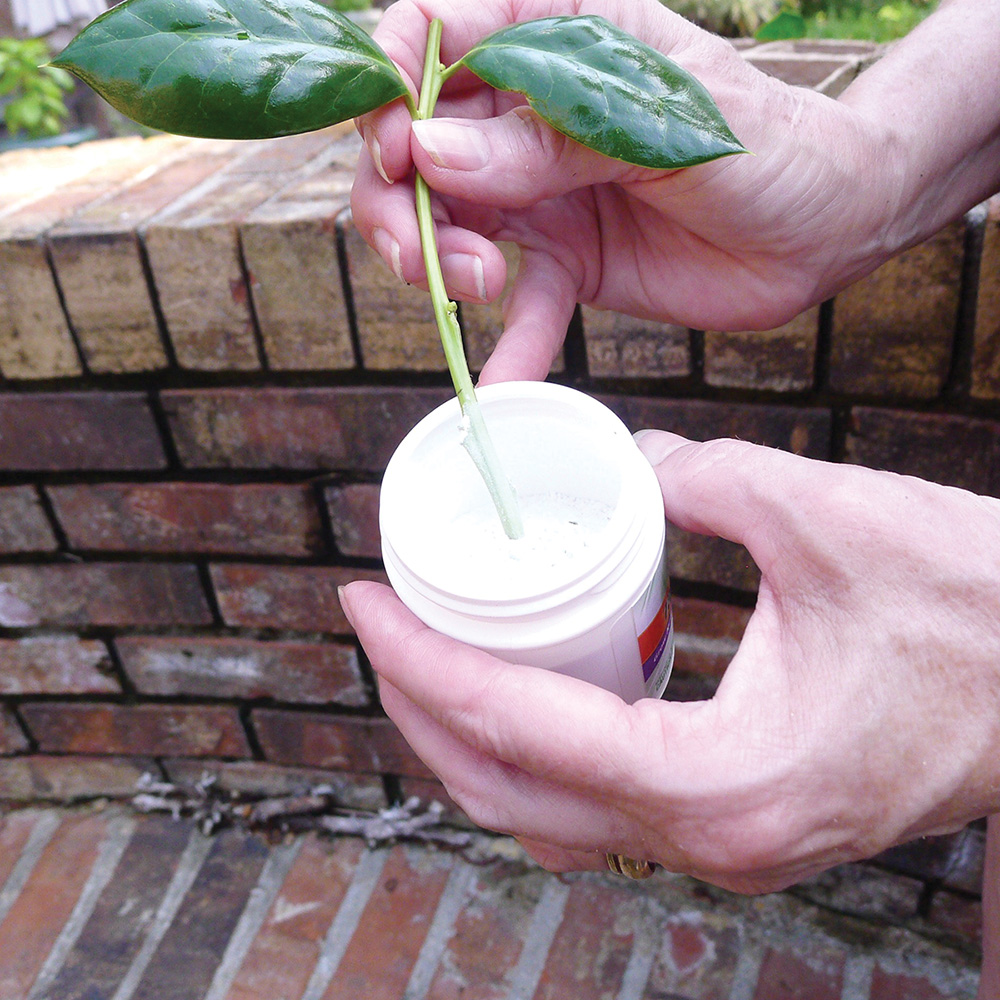
- To promote faster growth, you can dip the end in a rooting hormone, though this is not required. If you do use it, gently shake off any excess product before inserting the cutting into a container filled with a sterile, well-draining rooting mixture (a 1:1 combination of peat moss and sand, perlite or vermiculite works well). Do not add fertilizer to the mix.
- Place the containers in a spot with bright, indirect sunlight and keep the cuttings watered or misted so they remain moist, but the potting medium isn’t soggy. A heating pad placed beneath the pots will speed up the rooting process, too.
Within a month you should see root growth and, depending on the plant species, semi-hardwood cuttings should be ready to replant into a larger pot or into the landscape by this fall. You can keep potted rootings in a protected spot through the winter for spring planting, too.
If you produce more plants than you can use, share or swap them with your gardening friends and family members.


