Terrariums are easy, fun project for summer – or any time
By Katie Jackson
Back in April I had the pleasure of giving a program to a gathering of Alabama Rural Electric Association spouses, a charming group that listened attentively as I waxed on and on about how everything old really is new again. Case in point: terrariums.
I’m old enough to remember back to the 1970s when terrariums were all the rage. And nowadays they, like macramé and fondue, have made a comeback, so I took a stroll down memory lane and tried making one for myself.
Not being a particular adept DIYer (do-it-yourselfer — my daughters and I have a long-standing joke when we see something cute in a store: we could make that ourselves … but we won’t), I wasn’t sure how well this project would work for me. But it turned out to be such fun, and it is a perfect indoor project for this time of year.
For those who don’t know, terrariums are little gardens first developed in the mid-1800s by botanist Nathaniel Bagshaw Ward, who was actually studying insects in glass jars when he discovered that a fern spore in an unattended jar had germinated and was thriving even though the jar was closed. This discovery not only proved to be a great system for transporting plants across long distances, it also became all the rage in Victorian times.
A closed terrarium works by creating its own microenvironment within a clear glass container, which allows sunlight to enter but also traps the moisture created by the plants and soil to create a self-watering system within the containers. Open terrariums work similarly, though they may require more frequent watering to keep them moist and thriving.
Closed terrariums work best for tropical plants that thrive in humid, protected environments, such as ferns, mosses and orchids. Open terrariums can be used for a variety of other plants such as cacti and succulents that prefer dry, arid conditions or herbs and other hardy, small plants.
To create your own terrarium:
- Choose any clear glass container — from canning jars to a fish bowl to any decorative glass container that strikes your fancy.
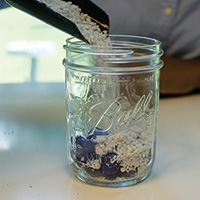
- Cover the bottom of the container with an inch of pebbles, small rocks, or marbles to create a drainage system for the plants’ roots.
- Top the pebbles with a thin layer of activated charcoal or perlite.
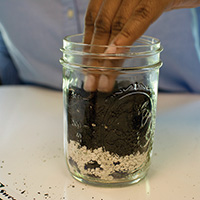
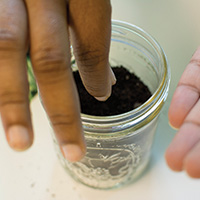
- Top that with a layer of sterile potting soil (or cactus or orchid soil mix if you’re using these plant species) that is deep enough to comfortably cover and nestle the roots of the plants you are using.
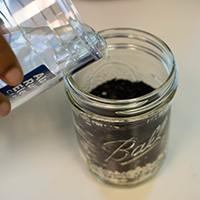
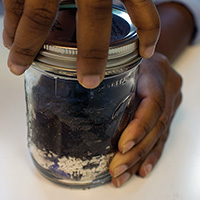
Once you’re through planting and arranging the terrarium, add enough water to the container to moisten the soil mixture, then cover the container if you’re making a closed terrarium. Set the terrarium in a spot where it gets plenty of filtered sunlight. Open terrariums can be exposed to more direct sunlight, but closed terrariums can overheat if they receive too much direct sunlight.
Check the terrarium once a week or so to make sure the soil is relatively moist and add a sprinkling of water if needed. A good sign that you need to add additional water to a closed terrarium is a lack of condensation on the surface of the glass or signs of wilting in the plants. If a closed terrarium is beginning to develop mold on its sides, leave it open for an hour or so to let some of the condensation escape.
Other than that, there is little maintenance required for terrariums and they truly are easy and fun to make, so much so that you may want to create a whole collection of them in different sizes and styles. After all, you’re only limited by your imagination.
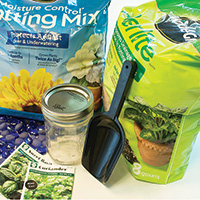
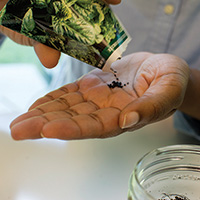
Making your own terrarium takes just minutes, once you’ve assembled all the ingredients: a clear container, pebbles, perlite, soil, seeds (or tiny plants) and water.
Photo by Allison Griffin
 Katie Jackson is a freelance writer and editor based in Opelika, Alabama. Contact her at [email protected].
